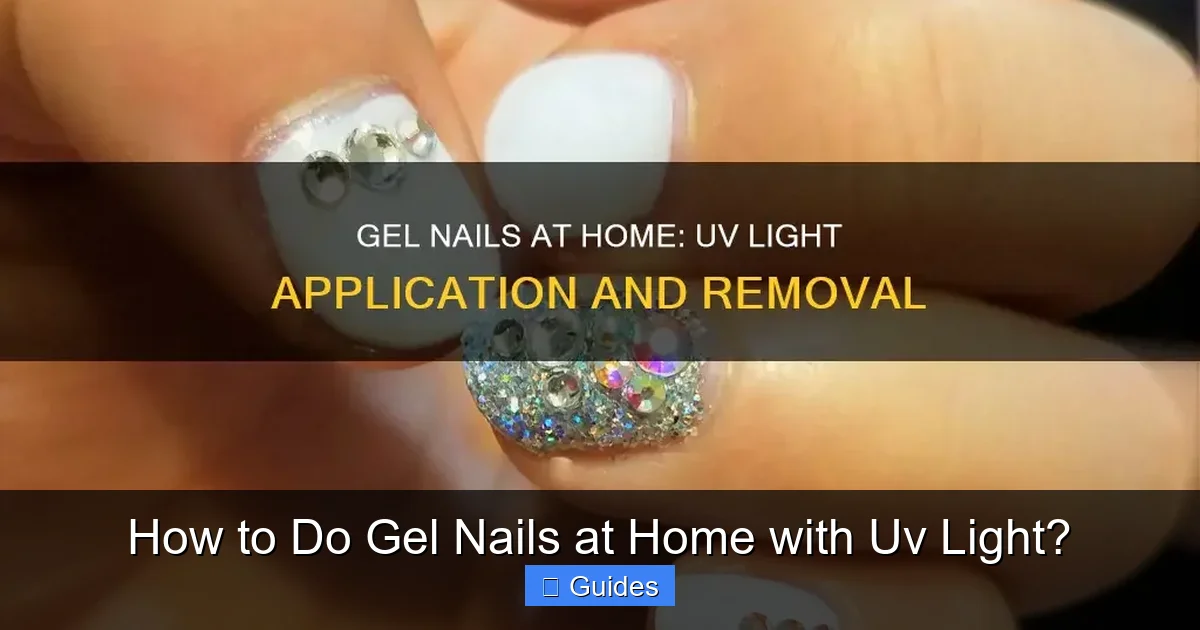
Dreaming of a perfect, long-lasting manicure without the salon price tag? This guide will walk you through exactly how to do gel nails at home with UV light, transforming your nail routine. Discover the essential tools, master the step-by-step application process, and learn vital tips for flawless, durable gel manicures right from your living room.
There’s something incredibly satisfying about freshly done nails. That glossy, chip-free finish can boost your confidence and make you feel polished and put-together. For years, achieving this look meant frequenting a nail salon, often spending a significant amount of money and time. But what if we told you that salon-quality gel nails are entirely within your reach, right in the comfort of your own home? Imagine saving money, scheduling manicures on your own terms, and customizing your look exactly how you like it.
The secret lies in learning how to do gel nails at home with UV light. It might sound intimidating at first, conjuring images of complex equipment and professional techniques. However, with the right tools, a little patience, and this comprehensive guide, you’ll be amazed at how quickly you can master the art of DIY gel manicures. We’re here to demystify the process, breaking down each step into simple, actionable advice. Get ready to transform your nail routine and flaunt beautiful, long-lasting gel nails without ever stepping foot outside your door!
Ready to dive into the world of at-home gel manicures? Let’s equip you with everything you need to know, from selecting your supplies to the perfect application and flawless removal. By the end of this article, you’ll have the confidence and knowledge to create stunning gel nails that last for weeks, all thanks to your trusty UV or LED lamp.
Key Takeaways
- Proper Prep is Key: Thorough nail preparation (filing, buffing, cuticle care, dehydration) is crucial for a long-lasting gel manicure and preventing lifting.
- Gather Essential Tools: You’ll need a UV/LED lamp, gel base coat, gel color, gel top coat, nail dehydrator/primer, cleanser/wipe solution, and basic nail tools.
- Apply Thin Coats: Applying gel polish in very thin, even layers is vital to prevent bubbling, wrinkling, and ensure proper curing under the UV light.
- Cure Each Layer Fully: Every single layer of gel (base, color, top) must be fully cured under your UV/LED lamp according to the product’s instructions to achieve durability and shine.
- Sealing the Free Edge: Don’t forget to “cap” or seal the free edge (tip) of each nail with every layer to prevent chipping and extend wear time.
- Careful Removal Prevents Damage: Never peel or force off gel polish. Proper soak-off removal using acetone is essential to protect your natural nails.
Quick Answers to Common Questions
How long do DIY gel nails last?
When done correctly with proper preparation and application, at-home gel nails can last anywhere from 2 to 3 weeks, similar to a salon manicure.
Can I use regular nail polish with a UV lamp?
No, regular nail polish will not cure under a UV or LED lamp. Gel polishes contain specific photoinitiators that react to UV or LED light to harden, which regular polishes lack.
Is a UV or LED lamp better for gel nails?
LED lamps are generally considered better as they cure gel polish faster (often 30-60 seconds vs. 120 seconds for UV) and have a longer lifespan. Many modern gel polishes are formulated to cure under both UV and LED lights, but always check your product instructions.
Why are my gel nails sticky after curing?
The sticky layer after curing is called the “inhibition layer.” It’s a normal byproduct of the gel curing process. Simply wipe it away with a lint-free wipe soaked in gel cleanser or 70-90% isopropyl alcohol (unless you’re using a no-wipe top coat).
How do I prevent gel polish from lifting?
Lifting is most often caused by improper nail preparation. Ensure you thoroughly dehydrate the nail plate, gently buff the surface, avoid getting gel on your cuticles or skin, and apply very thin coats of polish.
📑 Table of Contents
- Why Choose DIY Gel Nails at Home?
- Gathering Your Gel Nail Essentials: What You’ll Need
- Nail Preparation: The Foundation for Flawless Gel Nails
- The Step-by-Step Gel Nail Application Process
- Aftercare and Safe Gel Nail Removal
- Troubleshooting Common At-Home Gel Nail Issues
- Conclusion: Your Journey to Perfect At-Home Gel Nails
Why Choose DIY Gel Nails at Home?
Before we get into the nitty-gritty of how to do gel nails at home with UV light, let’s talk about why so many people are making the switch from salon visits to DIY. There are several compelling reasons to embrace the at-home gel manicure revolution.
Cost Savings Over Time
Perhaps the most obvious benefit is the significant cost savings. A single gel manicure at a salon can range from $35 to $60, sometimes even more depending on your location and desired extras. While the initial investment in a UV/LED lamp and gel polishes might seem like a lot, it quickly pays for itself. Think about it: after just a few at-home manicures, you’ve already saved more than you spent on the starter kit. The cost per manicure becomes incredibly low once you have your essential supplies.
Convenience and Flexibility
No more scheduling appointments, rushing to the salon, or dealing with limited operating hours. When you know how to do gel nails at home with UV light, your “salon” is open whenever you are. Whether it’s late at night, early in the morning, or during a quiet afternoon, you have the flexibility to do your nails on your own schedule. This is perfect for busy individuals, parents, or anyone who simply prefers the comfort of their own space.
Creative Freedom and Customization
When you’re your own nail tech, the creative possibilities are endless! You can experiment with different colors, glitter, nail art, and designs without extra charges. You’re not limited to the salon’s current color selection. Want to try an ombre effect? Go for it! Feeling a subtle French tip? Easy! Learning how to do gel nails at home with UV light gives you complete control over your nail aesthetic.
Gathering Your Gel Nail Essentials: What You’ll Need
To successfully do gel nails at home with UV light, you’ll need a specific set of tools and products. Think of this as your starter kit. Don’t worry, most of these are one-time purchases, and many starter kits bundle them together.
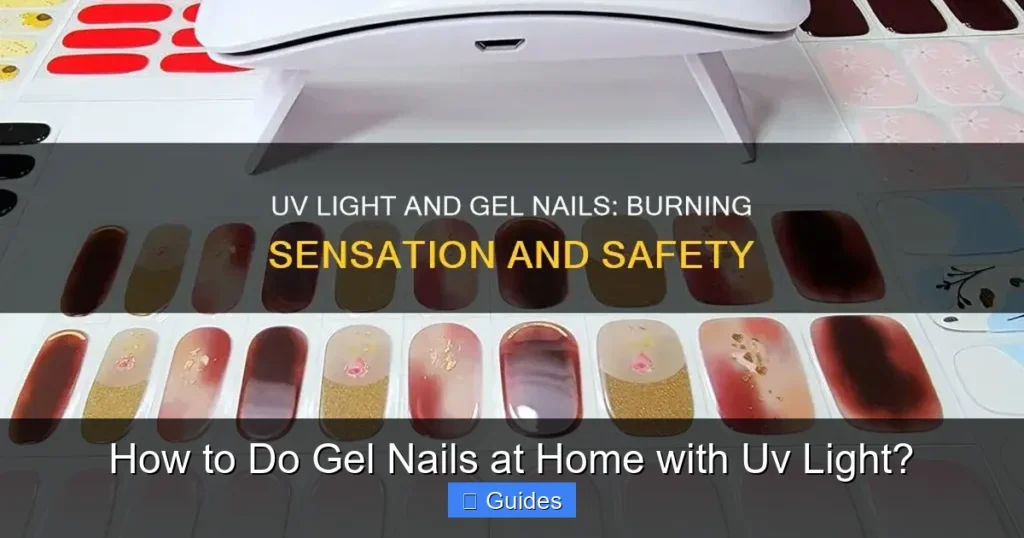
Visual guide about How to Do Gel Nails at Home with Uv Light?
Image source: nailicy.com
The Must-Have Equipment
- UV or LED Nail Lamp: This is the cornerstone of your at-home gel manicure setup. Gel polish requires UV or LED light to cure (harden) properly. LED lamps cure faster and are generally preferred, but UV lamps also work effectively. Make sure your lamp has enough power (at least 24W for LED, 36W for UV) and an appropriate timer setting.
- Gel Polishes: You’ll need three main types of gel polish:
- Gel Base Coat: This provides a sticky foundation for your color to adhere to, ensuring longevity.
- Gel Color Coat(s): Your chosen shades! Start with a few favorite colors and expand your collection.
- Gel Top Coat: This provides the high-gloss, chip-resistant finish and seals everything in. Look for “no-wipe” top coats for extra convenience, as they don’t leave a sticky inhibition layer.
Essential Prep & Finishing Supplies
- Nail File and Buffer: For shaping your nails and gently roughing up the surface for better gel adhesion.
- Cuticle Pusher and Nippers: To gently push back and trim any excess cuticles.
- Nail Dehydrator/Primer: This removes natural oils and moisture from the nail plate, which is crucial for preventing lifting. Don’t skip this step!
- Lint-Free Wipes: Regular cotton balls can leave fibers. Lint-free wipes are essential for cleansing.
- Gel Cleanser/Wipe Solution (or Isopropyl Alcohol): Used to remove the sticky “inhibition layer” left after curing, especially if you’re not using a no-wipe top coat. 70-90% isopropyl alcohol works perfectly fine.
- Acetone (100% Pure): Essential for safely removing your gel polish.
- Foil Wraps or Gel Nail Clips: To hold acetone-soaked cotton pads in place during removal.
- Nail Oil/Cuticle Oil: For hydrating your nails and cuticles after your manicure is complete.
Nail Preparation: The Foundation for Flawless Gel Nails
This might be the most critical step when you want to do gel nails at home with UV light successfully. Proper nail preparation directly impacts how long your gel manicure will last and prevents common issues like lifting or chipping. Don’t rush this!
Step 1: Shape Your Nails
Start by filing your nails to your desired shape and length. Be gentle and file in one direction to prevent splitting. Ensure all nails are evenly shaped.
Step 2: Push Back and Trim Cuticles
Gently push back your cuticles using a cuticle pusher. You can apply a cuticle remover product first to soften them. If you have any hangnails or excess dead skin, carefully trim them with cuticle nippers. Be very cautious not to cut live skin, as this can lead to infection and pain.
Step 3: Lightly Buff the Nail Plate
Using a fine-grit buffer, gently buff the surface of your nails. The goal is to remove the natural shine, creating a slightly rough surface for the gel to adhere to. Don’t over-buff; you just want to create a matte finish, not thin your nails.
Step 4: Cleanse and Dehydrate
This is a non-negotiable step. Use a lint-free wipe soaked in nail dehydrator or 70-90% isopropyl alcohol to thoroughly wipe down each nail plate. This removes any dust, oils, or residue that could prevent the gel from sticking. Ensure your nails are completely dry before moving on.
Pro Tip: From this point forward, avoid touching your nail plate with your fingers. The natural oils from your skin can transfer to the nail and cause lifting.
The Step-by-Step Gel Nail Application Process
Now that your nails are perfectly prepped, it’s time for the exciting part: applying the gel polish. Remember, thin coats are your best friend!
Step 1: Apply Gel Base Coat
Apply a very thin, even layer of gel base coat to each nail. Think of it as painting a regular polish, but use even less product. Make sure to cover the entire nail plate, from the cuticle area to the free edge. Don’t forget to “cap” the free edge (the tip of your nail) by swiping the brush across it. This helps to seal the gel and prevent chipping.
Common Mistake: Applying too thick of a base coat. This can lead to bubbling, wrinkling, or improper curing.
Step 2: Cure the Base Coat
Place your hand under the UV or LED lamp and cure according to the manufacturer’s instructions for your base coat. Typical curing times range from 30-60 seconds for LED lamps and 120 seconds for UV lamps. Your nails will feel tacky after curing; this is normal and is called the “inhibition layer.” Do not touch or wipe it!
Step 3: Apply Your First Layer of Gel Color
Apply a very thin layer of your chosen gel color. Just like the base coat, keep it thin and even, avoiding flooding the cuticles or sidewalls. Cap the free edge. Thin coats are crucial here; a thick color coat is almost guaranteed to wrinkle or not cure properly.
Step 4: Cure the First Color Coat
Place your hand back under the lamp and cure the first color coat for the recommended time (again, typically 30-60 seconds for LED, 120 seconds for UV). Remember, the tacky layer is still present.
Step 5: Apply Second (and Third, if Needed) Layer of Gel Color
If your color isn’t opaque enough after the first coat, apply a second very thin layer of gel color, capping the free edge. Repeat the curing process. Some lighter or sheerer colors might benefit from a third thin coat, but always cure each layer thoroughly.
Pro Tip: If you accidentally get gel polish on your skin or cuticles, use an orange wood stick or a small brush dipped in isopropyl alcohol to clean it off before curing. Once cured, it’s much harder to remove cleanly.
Step 6: Apply Gel Top Coat
Finish your manicure with a thin, even layer of gel top coat. This is what provides the high-gloss shine and protection. Make sure to cap the free edge once more to seal everything in.
Step 7: Cure the Top Coat
Cure the top coat under your UV or LED lamp for the recommended time (often slightly longer than the base and color coats, e.g., 60-90 seconds for LED, 120-180 seconds for UV, especially if it’s a “no-wipe” top coat). Ensure it’s fully cured for maximum shine and durability.
Step 8: Remove the Inhibition Layer (if necessary)
If you’re not using a “no-wipe” top coat, your nails will still feel sticky after the final cure. This is the inhibition layer. Take a lint-free wipe soaked in gel cleanser or isopropyl alcohol and firmly wipe down each nail to reveal the glossy, hard finish. If you used a no-wipe top coat, you can skip this step!
Step 9: Hydrate
Apply cuticle oil to your cuticles and gently massage it in. This rehydrates the skin and nails after the process, keeping them healthy and looking great.
Aftercare and Safe Gel Nail Removal
Once you’ve mastered how to do gel nails at home with UV light, knowing how to care for them and remove them safely is equally important. Proper aftercare extends the life of your manicure, and correct removal prevents damage to your natural nails.
Maintaining Your Gel Manicure
- Moisturize Regularly: Keep your hands and cuticles hydrated with hand cream and cuticle oil daily. This not only keeps your skin healthy but also makes your manicure look fresher longer.
- Wear Gloves: When doing dishes, cleaning with harsh chemicals, or gardening, wear gloves. This protects your nails from excessive water exposure and chemicals that can degrade the gel.
- Avoid Picking or Peeling: This is crucial! Never pick or peel off your gel polish. It will inevitably take layers of your natural nail with it, leading to thin, brittle, and damaged nails.
- Don’t Use Nails as Tools: Resist the urge to use your nails to open cans, scrape labels, or pry things open. This can cause chips or breaks in your gel.
Safe Gel Nail Removal at Home
Removing gel polish requires patience and the right technique. Rushing this step is a primary cause of nail damage.
- Gently File Off Top Coat: Using a 100/180 grit nail file, gently buff the surface of your gel manicure. The goal is to break the seal of the top coat and scuff the color coat, not to file down to your natural nail. This step allows the acetone to penetrate more effectively.
- Soak Cotton and Wrap Nails: Soak a small piece of cotton pad (or half of one) in 100% pure acetone. Place the soaked cotton directly onto your buffed gel nail.
- Secure with Foil or Clips: Wrap each finger tightly with a piece of aluminum foil, or use specialized gel nail removal clips to hold the acetone-soaked cotton pad in place. Ensure it’s snug to minimize air exposure.
- Wait Patiently: Allow your nails to soak for 10-15 minutes. For stubborn gels or multiple layers, you might need to wait longer (up to 20 minutes). Resist the urge to check too early.
- Gently Remove Gel: After soaking, unwrap one finger at a time. The gel polish should look crinkled, lifted, or soft. Using an orange wood stick or a metal cuticle pusher, gently scrape away the softened gel. Work from the cuticle towards the free edge. If the gel isn’t coming off easily, re-wrap the nail with fresh acetone and soak for a few more minutes. Never force or aggressively scrape the gel off.
- Cleanse and Hydrate: Once all the gel is removed, gently buff away any remaining residue with a fine buffer. Wash your hands thoroughly, then apply a generous amount of cuticle oil and hand cream to rehydrate your nails and skin.
Troubleshooting Common At-Home Gel Nail Issues
Even when you know how to do gel nails at home with UV light, sometimes things don’t go perfectly. Here are solutions to common problems:
Gel Lifting or Chipping
- Issue: Gel lifting at the cuticles or free edge, or chipping after only a few days.
- Solution: This is almost always due to improper nail preparation.
- Ensure you thoroughly dehydrated the nail plate.
- Make sure no gel polish touched your skin or cuticles before curing.
- Apply very thin coats and cap the free edge with every layer.
- Ensure each layer is fully cured for the recommended time.
Bubbles or Wrinkles in Gel
- Issue: Your gel polish looks bubbly or has a wrinkled texture after curing.
- Solution:
- You’re likely applying the gel too thick. Gel polish needs to be applied in very thin layers to cure properly and avoid these issues.
- Also, ensure your lamp is powerful enough and that you’re curing for the correct amount of time.
Gel Feels Sticky After Curing (Even Top Coat)
- Issue: Nails still feel tacky or sticky after the final top coat cure.
- Solution:
- This is the “inhibition layer” and is perfectly normal for most gel polishes. Simply wipe it off with a lint-free wipe soaked in gel cleanser or 70-90% isopropyl alcohol.
- If you’re using a “no-wipe” top coat and it’s still sticky, it might not have been fully cured. Try curing for an additional 30-60 seconds.
Gel Shrinks Back from Edges
- Issue: After applying a layer, the gel seems to pull away from the edges or cuticle area.
- Solution:
- This often happens if the nail surface isn’t properly dehydrated, or if the base coat wasn’t fully cured, leaving an oily residue.
- It can also occur if the coats are too thin or you are taking too long to apply the polish before curing. Try working faster or curing a couple of nails at a time.
Conclusion: Your Journey to Perfect At-Home Gel Nails
Congratulations! You’ve just taken a deep dive into how to do gel nails at home with UV light. From understanding the benefits of DIY manicures to gathering your essential tools, mastering meticulous nail preparation, and perfecting the step-by-step application, you now possess all the knowledge needed to create stunning, long-lasting gel manicures yourself. We’ve even covered crucial aftercare and safe removal techniques, ensuring your natural nails remain healthy and strong.
Remember, practice makes perfect. Your first few attempts might not be flawless, but with each manicure, you’ll gain confidence and refine your technique. Don’t be afraid to experiment with colors and designs, and always prioritize proper nail prep and thin coats. By consistently following these guidelines, you’ll soon be enjoying salon-quality gel nails that save you time and money.
Embrace the freedom and creativity that comes with being your own nail technician. You now have the power to keep your nails looking impeccable, effortlessly fitting them into your lifestyle. So, go ahead, grab your UV lamp, pick your favorite gel polish, and unleash your inner nail artist. Beautiful, durable gel nails are just a few steps away!
🎥 Related Video: How to master the perfect at home gel maicure🫡 everything used is 🔗 in my st0refront under “nails”
📺 Syd Wingold
save $ and start doing your nails at home everything used is in my st0refront under “nails” #gelnails #gelnailsathome …
Frequently Asked Questions
What is the difference between UV and LED gel lamps?
UV lamps emit a broad spectrum of UV light, typically taking longer to cure gel polish. LED lamps emit a narrower, more intense spectrum of light, curing gels much faster. Most modern gel polishes are formulated to cure under both, but LED lamps are generally more efficient and have a longer bulb life.
Do I need a primer for gel nails?
While not always strictly necessary for every gel system, a dehydrator and/or primer is highly recommended. A dehydrator removes oils and moisture, and a primer creates a sticky surface, both significantly improving adhesion and preventing lifting.
Can I just peel off gel polish if it starts to chip?
Absolutely not! Peeling off gel polish can cause significant damage to your natural nails by removing layers of the nail plate. Always use the proper soak-off removal method with 100% pure acetone to protect your nails.
How can I make my gel manicure last longer?
To extend the life of your gel manicure, ensure thorough nail preparation, apply very thin coats of gel, cap the free edge with each layer, and fully cure every coat. Aftercare like moisturizing with cuticle oil and wearing gloves for chores also helps significantly.
What if I get gel polish on my skin?
If you get gel polish on your skin or cuticles, it’s crucial to clean it off immediately *before* curing. Use an orange wood stick or a small brush dipped in isopropyl alcohol to carefully wipe it away. Cured gel on the skin can cause lifting and irritation.
Is it safe to do gel nails at home regularly?
Yes, doing gel nails at home is generally safe when proper techniques are followed. The key is correct application to prevent damage, safe removal using acetone (never peeling!), and occasional breaks between manicures to let your natural nails breathe and recover.