Have you ever noticed your car’s dome light looking dull or cracked? Replacing the dome light cover might seem tricky, but it’s easier than you think.
In this guide, you’ll learn simple steps to refresh your car’s interior lighting quickly. Imagine how much better your car feels with a bright, clear dome light—making every drive more comfortable and safe. Keep reading, and you’ll be able to replace your dome light cover like a pro, saving time and money along the way.
Tools Needed
Replacing dome light covers in cars is a simple task. You only need a few tools to get started. Having the right tools makes the job easier and faster. Below are the essential tools you will need.
Plastic Pry Tool
A plastic pry tool helps remove the dome light cover safely. It prevents damage to the cover and the surrounding area. Use it to gently pop off the cover without scratching.
Flathead Screwdriver
A small flathead screwdriver is useful for some dome light covers. It can help pry off clips or screws holding the cover. Be careful not to press too hard to avoid breaking parts.
Replacement Dome Light Cover
Make sure you have the correct replacement cover for your car model. Check the size and shape before buying. Using the right cover ensures a perfect fit and good lighting.
Clean Cloth
A clean cloth helps wipe the dome light and cover. Remove dust and dirt before installing the new cover. This keeps the light bright and the cover clear.
Locate The Dome Light
Start by finding the dome light inside your car’s ceiling. It is usually near the front or center of the roof. Look for a small plastic cover that protects the light bulb.
The dome light is an important part of your car’s interior. It helps you see inside the car at night or in dark places. Before replacing the dome light cover, you must find the light itself.
Most dome lights are on the ceiling of the car. Usually, they sit near the front, above the rearview mirror. Some cars have more than one dome light, especially larger vehicles.
Check The Car’s Owner Manual
The owner manual shows exact dome light locations. It often includes pictures and diagrams. This guide helps you avoid searching blindly and saves time.
Look For The Dome Light Shape
Dome lights have a distinct shape. They are usually oval or rectangular. The cover is often clear or frosted plastic. Spotting this shape on the ceiling is easy.
Turn On The Dome Light
Switch on the dome light to locate it quickly. Use the car’s interior light switch or open a door. The light will glow, making the cover visible.
Remove Old Light Cover
Removing the old dome light cover is the first step in replacing it. This part protects the bulb and gives a neat look to your car’s interior. Taking it off carefully helps avoid damage to the cover or the light fixture. Follow simple steps to make this task easy and safe.
Use Of Pry Tool
A pry tool helps lift the cover without breaking it. Choose a plastic pry tool to avoid scratches. Insert the tool gently between the cover and the ceiling. Slowly twist or lift the tool to release the cover clips. Work around the edges for even pressure. Take your time to avoid sudden snaps or cracks.
Avoiding Damage
Pressing too hard can crack the cover or damage the light base. Use soft, steady force instead of quick pulls. Protect the car’s ceiling by placing a cloth nearby. Avoid metal tools that can scratch or dent surfaces. Check for hidden screws before prying. Damaged covers can be unsafe and costly to replace.

Credit: www.youtube.com
Clean The Light Fixture
Cleaning the light fixture is an important step before installing a new dome light cover. Dirt and dust can reduce the brightness of the light. A clean fixture helps the light shine clearly and evenly. It also ensures the new cover fits well without any problems.
Take your time to clean the fixture carefully. Use the right tools and materials to avoid damage. A clean fixture looks better and works better.
Gather Cleaning Supplies
Prepare a soft cloth, mild soap, and water. Avoid harsh chemicals that might harm the fixture. A small brush can help reach tight spots. Have a dry cloth ready to wipe off moisture.
Remove Dust And Debris
Use the soft cloth to remove loose dust gently. For stubborn dirt, dip the cloth in soapy water. Clean every corner of the fixture. Dry the area thoroughly after cleaning.
Check For Damage
Inspect the fixture for cracks or broken parts. Damaged areas can affect the light’s performance. Replace or repair any damaged components before reassembling. This step ensures safety and proper function.
Select The Right Replacement Cover
Selecting the right replacement dome light cover is essential for a proper fit and look. The cover must match your car’s original design. A wrong cover may not fit well or could look odd. Consider the size, shape, and material of the cover. These details ensure the cover works well and lasts long.
Matching Size And Shape
The dome light cover must fit perfectly into the light fixture. Measure the old cover or check the car manual for exact size details. Covers come in various shapes like round, oval, or rectangular. Choose a cover that matches the shape of your original one. A proper fit avoids gaps and keeps the light secure.
Material Options
Dome light covers come in different materials such as plastic or glass. Plastic covers are lightweight and less likely to break. Glass covers often look clearer and more stylish. Choose a material that suits your car’s interior style. Also, consider durability and ease of cleaning when picking the material.
Install The New Cover
Installing the new dome light cover is a simple step. It protects the bulb and gives a neat look inside your car. Follow these easy steps to fit it perfectly and safely.
Aligning Properly
Hold the cover close to the dome light area. Match the edges with the light frame. Check that all clips or tabs line up. This ensures the cover fits without gaps or pressure.
Securing In Place
Press the cover gently but firmly. You may hear a soft click as it locks. Make sure it does not move or fall off. A secure cover protects the bulb from dust and damage.
Test The Dome Light
Testing the dome light is a key step after replacing the cover. It ensures the light works properly and safely. A quick test helps avoid surprises later.
Start by turning on the car’s dome light switch. Check if the light glows brightly. If it does, the cover replacement was successful.
If the light does not turn on, check the bulb first. Sometimes the bulb may have come loose or burnt out. Fix the bulb or replace it if needed.
Also, ensure the electrical connections are secure. Loose wires can stop the light from working. Push connectors gently to fit them well.
Turn On The Dome Light Switch
Locate the dome light switch in your car. Switch it on and watch the light. A working dome light will glow without flickering.
Check The Bulb Condition
Look closely at the bulb inside the dome light. A broken or dark bulb needs replacement. Handle the bulb carefully to avoid damage.
Inspect Electrical Connections
Look at the wires and connectors behind the dome light. Tighten any loose connections. Proper contact is needed for the light to work.

Credit: www.youtube.com
Troubleshooting Common Issues
Troubleshooting common issues during dome light cover replacement can save time and frustration. Small problems often have simple fixes. Knowing what to check helps keep your car’s interior light working well.
Light Not Turning On
First, check the bulb. It may be burnt out or loose. Twist or pull the bulb gently to remove it. Replace it with the correct type if needed.
Next, inspect the fuse. A blown fuse can stop the dome light from working. Find your car’s fuse box and look for the dome light fuse. Replace it with one of the same size and rating.
Check the dome light switch. Dirt or corrosion can block the connection. Clean the switch area with a soft cloth. Test the switch to see if the light turns on.
Cover Not Fitting
Make sure the cover matches your car model. Covers from other models may not fit correctly. Compare the old cover with the new one before installation.
Check for any debris or broken clips around the dome light housing. Clean the area and remove any obstacles. Damaged clips might need replacement for a secure fit.
Align the cover properly. Press gently but firmly on all sides. Avoid forcing the cover, as it can crack or break easily.
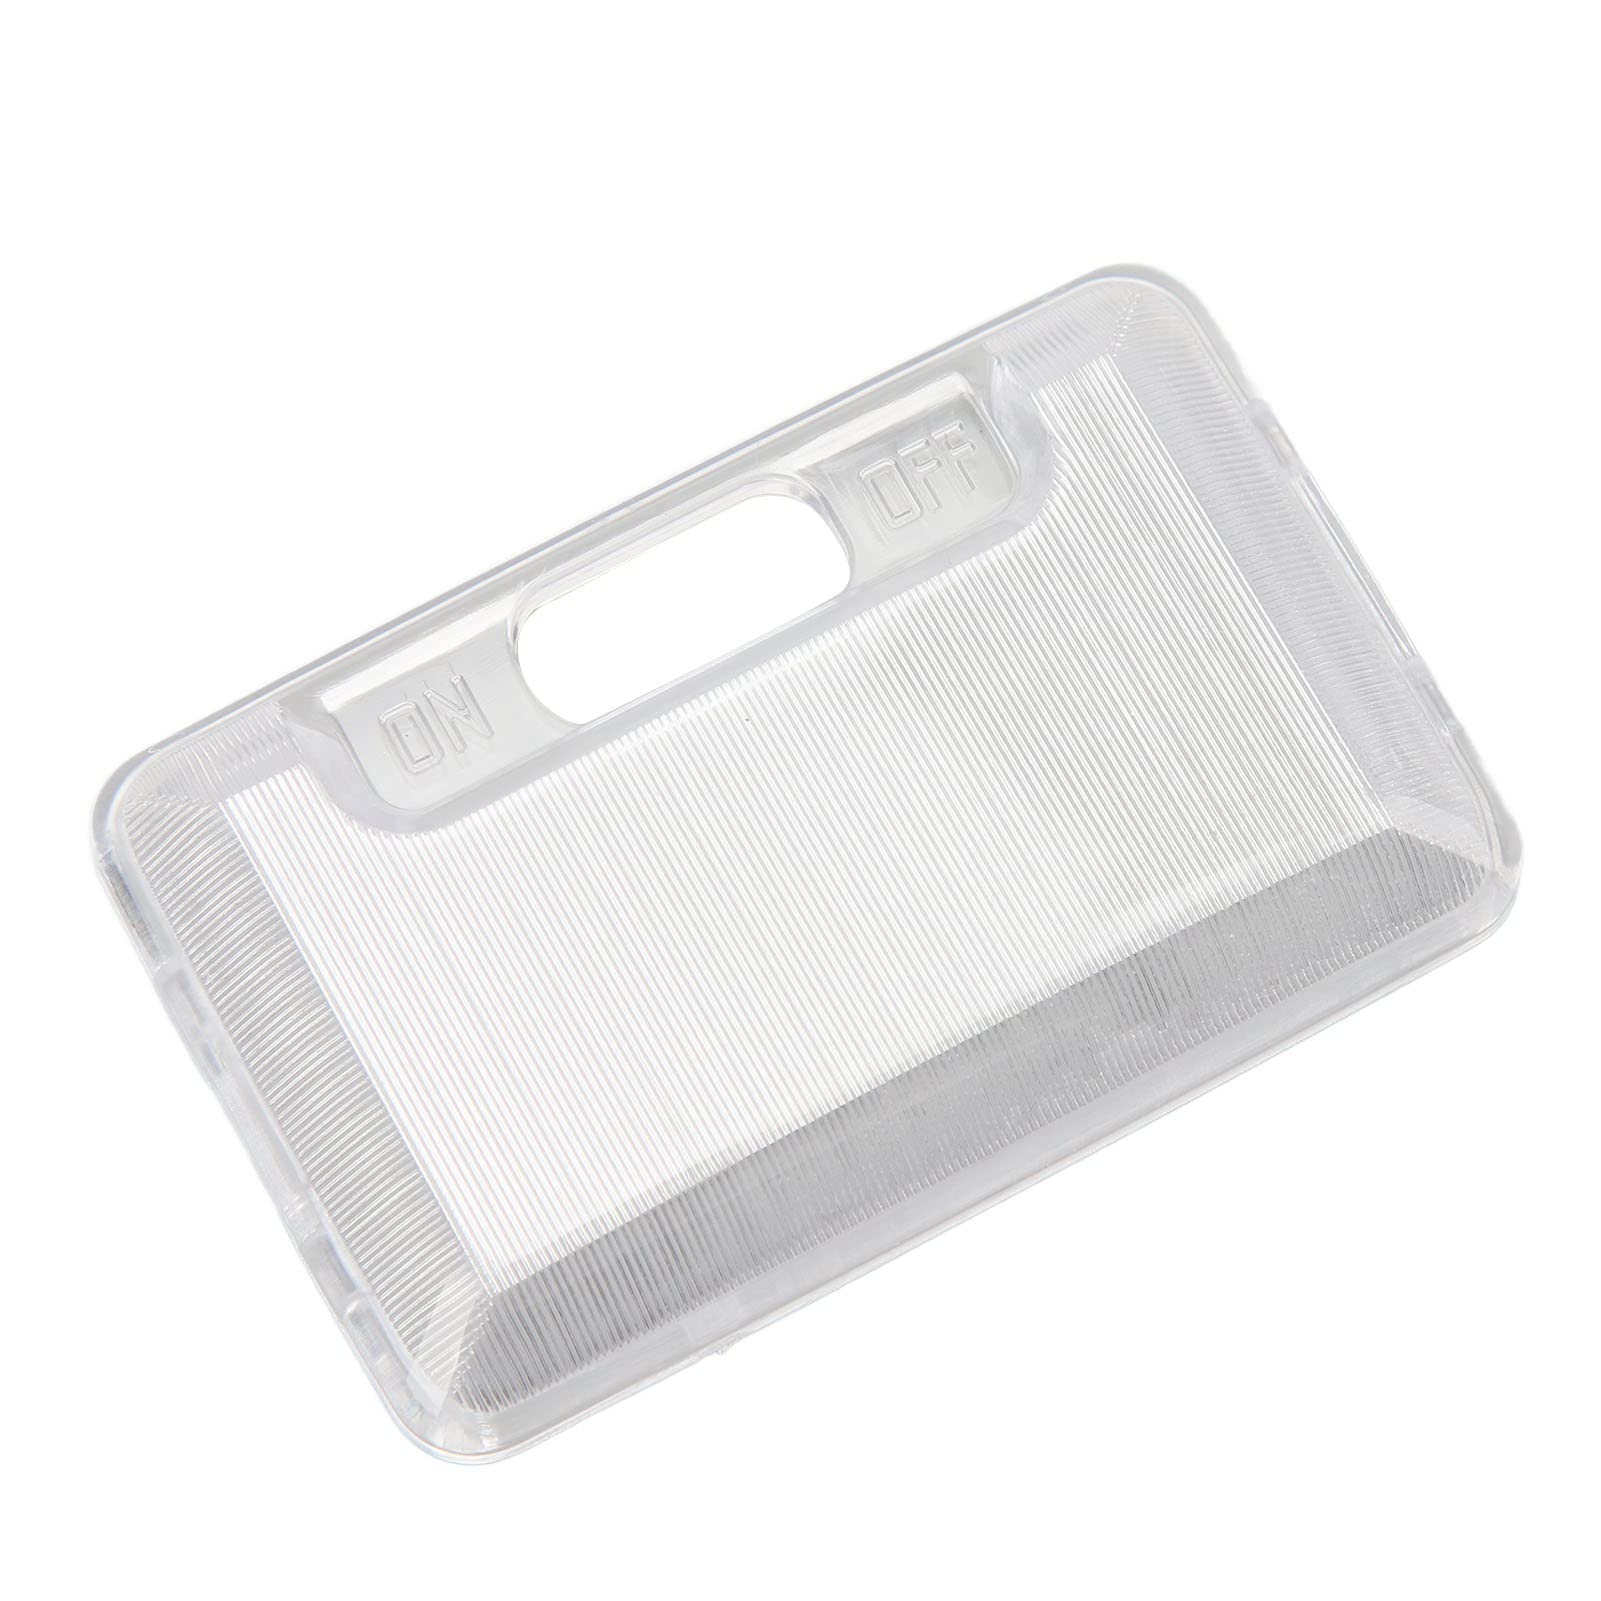
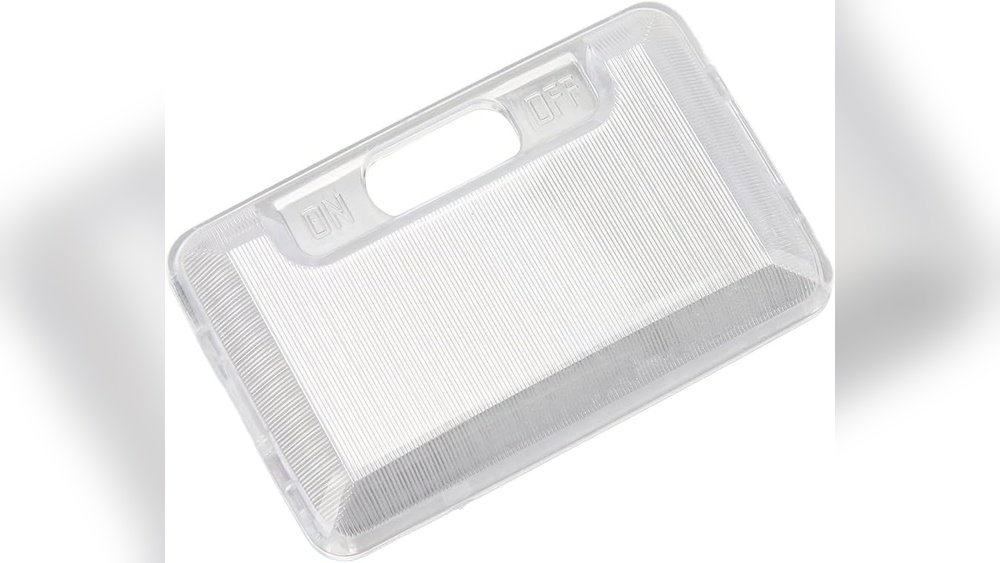
Credit: www.amazon.com
Frequently Asked Questions
How Do You Remove A Dome Light Cover Safely?
To remove a dome light cover safely, use a plastic pry tool or your fingers. Gently pry from the edges to avoid damage. Avoid using metal tools that can scratch or break the cover. Always disconnect the car battery to prevent electrical shock.
What Tools Are Needed To Replace Dome Light Covers?
You typically need a plastic pry tool or flathead screwdriver, a replacement cover, and a clean cloth. Some cars may require a Phillips screwdriver for screws. Always check your car manual for specific tool requirements to avoid damage.
How Long Does It Take To Replace A Dome Light Cover?
Replacing a dome light cover usually takes 5 to 10 minutes. It is a quick task requiring minimal tools. Time may vary depending on your car model and if screws are involved.
Can I Replace Dome Light Covers Myself?
Yes, you can replace dome light covers yourself. The process is simple and requires basic tools. Follow your car’s manual instructions. If unsure, consult a professional to avoid damage.
Conclusion
Replacing dome light covers in cars is simple and quick. Grab the right tools and follow each step carefully. Take care not to break the clips or covers. Clean the area before fitting the new cover. Check the light works well after replacement.
Doing this yourself saves time and money. You can keep your car interior neat and bright. Try this easy task next time your dome light cover breaks.