Have you noticed your car’s headlights acting strange? Sometimes they don’t turn on, or they flicker. This can be a sign of a bad headlight relay. Don’t worry. Fixing a headlight relay is not too hard. You can do it yourself with some simple steps.
What Is a Headlight Relay?
A relay is a small electrical switch. It helps send power from the battery to your headlights. When you turn on the headlight switch, the relay closes the circuit. This lets electricity flow to the lights. If the relay stops working, the headlights may not work.
Relays are important because they protect the car’s wiring. They handle high power safely. Without a relay, wires can get too hot or break. So, a good relay keeps your headlights safe and working.
Signs Your Headlight Relay Is Bad
Before fixing the relay, you should check if it is really bad. Here are some signs:
- Headlights do not turn on at all.
- Headlights flicker or go on and off quickly.
- Only one headlight works, or they are very dim.
- Car starts, but no power to headlights.
- You hear a clicking sound near the relay when turning on headlights.
If you see any of these signs, the relay might need fixing or replacement.
Tools You Will Need
Before starting, gather these tools. They will help you fix the relay safely.
- New headlight relay (check your car manual for the right one)
- Car manual or wiring diagram
- Flathead screwdriver
- Multimeter or test light (for checking power)
- Gloves (to protect your hands)
- Flashlight (if working in low light)
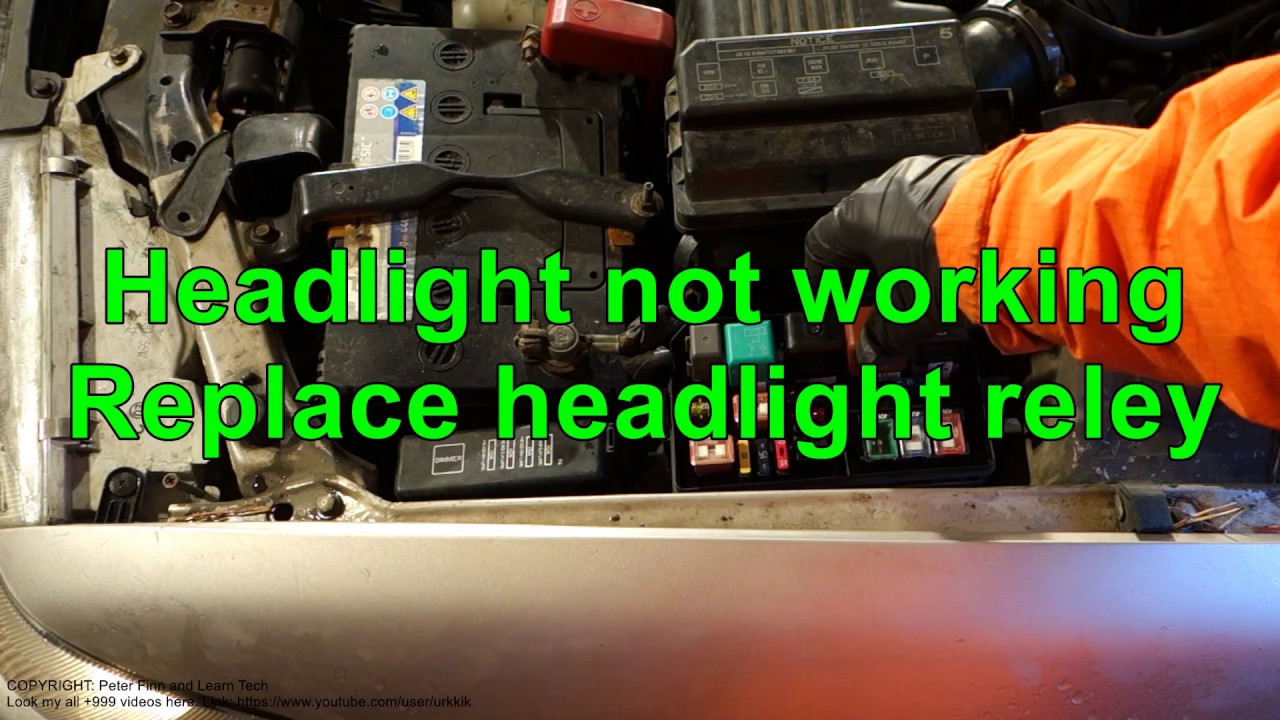
Step 1: Locate the Headlight Relay
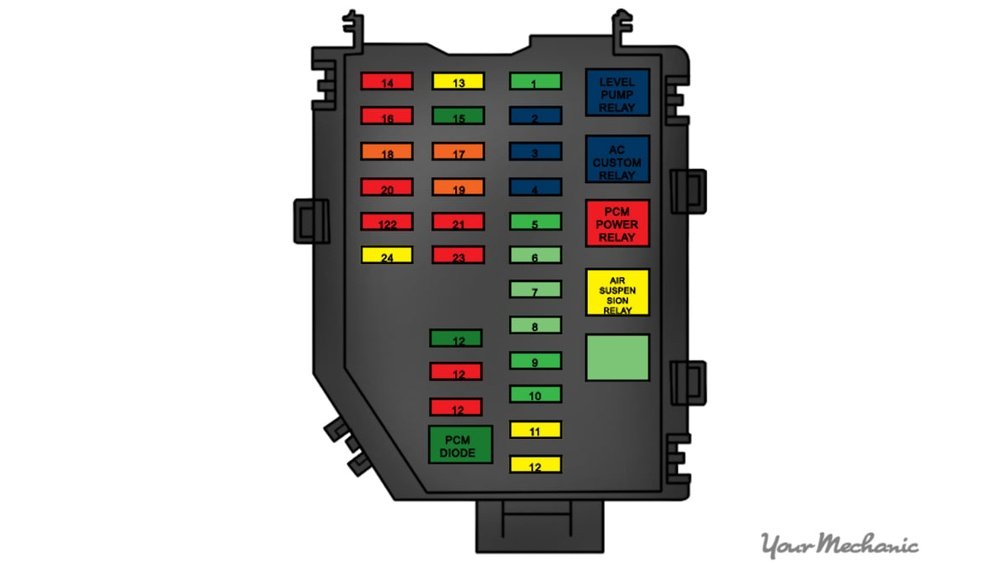
The first step is to find where the relay is in your car. Usually, relays are in the fuse box. The fuse box can be under the hood or inside the car near the dashboard.
Open the fuse box cover. Inside, you will see many fuses and relays. Look for a label or diagram on the cover. It will show which relay is for the headlights.
If you can’t find it, check your car manual. It will have the exact location and name of the relay.
Step 2: Remove the Old Relay
Once you find the relay, it is time to remove it. Before you do, turn off the car and take out the key. This keeps you safe from electric shock.
Use your fingers or a flathead screwdriver to gently pull out the relay. Be careful not to break the relay or the fuse box pins.
Put the old relay aside. You will need to test it or compare it to the new one.
Step 3: Test the Old Relay
You can test if the relay is bad. This step is optional but useful. If you have a multimeter, set it to measure resistance (ohms).
Check the relay pins for continuity. If there is no connection where there should be, the relay is bad.
If you don’t have a multimeter, you can swap the relay with another one of the same type. If the headlights work after swapping, the old relay is faulty.
Step 4: Install the New Relay
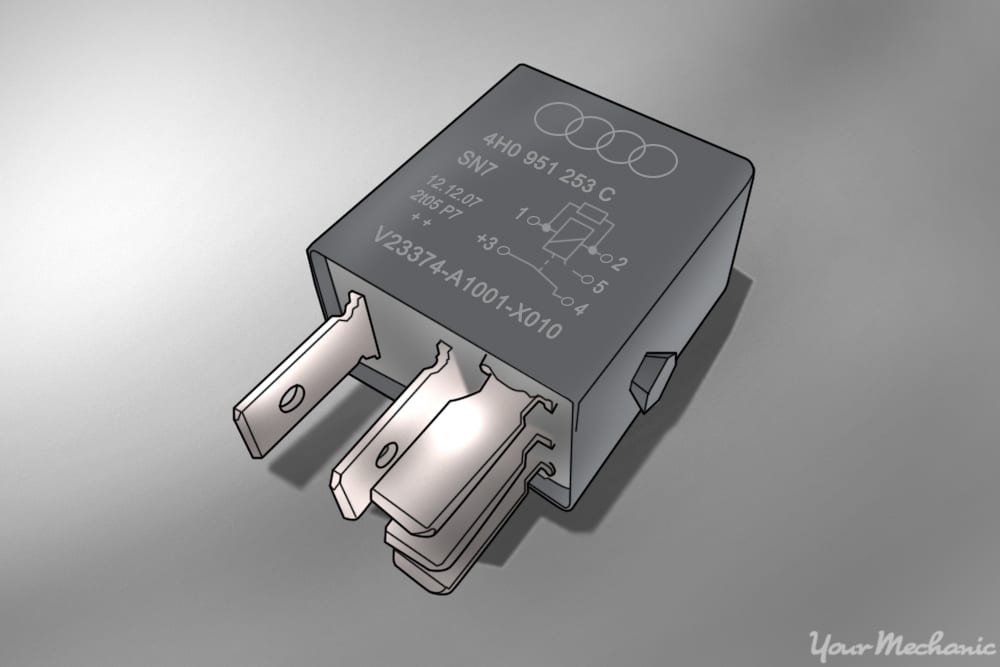
Take your new relay. Look at the pins and make sure they match the socket in the fuse box.
Push the relay firmly into place. It should fit snugly but not too tight. Do not force it.
Close the fuse box cover once the relay is in place.
Step 5: Test Your Headlights
Now, turn on your car. Switch on the headlights. Check if they work properly.
If the headlights turn on and stay steady, you fixed the problem. If not, there might be another issue, like a bad fuse or wiring problem.
Extra Tips for Headlight Relay Fix
- Always disconnect the car battery before working on electrical parts.
- Handle relays carefully to avoid damage.
- Use the exact relay type for your car model.
- If unsure, ask a friend or expert for help.
- Keep the fuse box clean and dry to avoid relay problems.
How to Prevent Headlight Relay Problems
Prevention is better than repair. Here are ways to keep your relay healthy:
- Check your headlights regularly.
- Keep the fuse box closed and free from water.
- Don’t overload your car’s electrical system.
- Replace old or damaged relays quickly.
- Have your car checked by a mechanic if lights act strange.
Summary Table: Headlight Relay Fix Process
| Step | Action | Notes |
|---|---|---|
| 1 | Locate the headlight relay | Find fuse box and look for relay |
| 2 | Remove old relay | Turn off car, pull relay gently |
| 3 | Test old relay (optional) | Use multimeter or swap relays |
| 4 | Install new relay | Match pins, push firmly |
| 5 | Test headlights | Turn on car and check lights |
Final Thoughts
Fixing a headlight relay can save you time and money. It is a simple job anyone can try. Remember to stay safe and follow the steps carefully.
Good headlights keep you safe on the road. So, don’t ignore any signs of trouble. Fix your relay soon and drive safely!
Frequently Asked Questions
What Is A Headlight Relay And Why Is It Important?
A headlight relay controls power to your headlights, ensuring they get enough electricity to work properly.
How Do I Know If My Headlight Relay Is Bad?
Signs include flickering lights, headlights not turning on, or dim lights even when switched on.
Can I Test A Headlight Relay At Home?
Yes, using a multimeter or swapping it with a known good relay can help test it.
What Tools Do I Need To Fix A Headlight Relay?
Basic tools like a screwdriver, multimeter, and possibly pliers are usually enough for the job.