Wiring a light bulb socket doesn’t have to be intimidating! This guide walks you through the essential steps, from understanding basic components and crucial safety precautions to connecting wires correctly and testing your work. You’ll gain the confidence to handle this common household task, ensuring a safe and functional light fixture.
How to Wire a Light Bulb Socket
Hey there, DIY enthusiast! Ever looked at a new lamp kit, a vintage fixture, or even a simple light bulb socket and thought, “How exactly does this work?” Or maybe you’ve wanted to fix a beloved lamp but felt a little intimidated by the wires. Well, you’ve come to the right place! Wiring a light bulb socket is a fundamental skill that’s not only incredibly useful but also surprisingly straightforward once you understand the basics. It’s a project that can save you money, empower your creativity, and give you a real sense of accomplishment.
This comprehensive guide will demystify the process of how to wire a light bulb socket, breaking it down into easy-to-follow steps. We’ll cover everything from the essential safety precautions you *must* take, to identifying the different parts of a socket, to making secure electrical connections. By the time you finish reading, you’ll be equipped with the knowledge and confidence to tackle this task safely and effectively, whether you’re replacing a faulty socket or building a brand-new custom light. So, grab your tools (metaphorically for now!), get comfortable, and let’s shed some light on this essential electrical skill!
Key Takeaways
- Safety First: Always disconnect power at the circuit breaker and use insulated tools to prevent electrical shock.
- Understand Polarity: Identify the hot (black/brass screw), neutral (white/silver screw), and ground (green/green screw) wires/terminals correctly for safe operation.
- Proper Wire Stripping: Strip insulation only enough to make a secure connection, avoiding exposed copper that could cause short circuits.
- Secure Connections: Ensure wires are wrapped clockwise around terminal screws and tightened firmly to prevent loose connections and arcing.
- Grounding is Essential: Always connect the ground wire to the designated terminal to provide a safe path for fault current.
- Test Thoroughly: After wiring, always test the circuit with a multimeter or by carefully restoring power before final assembly.
Quick Answers to Common Questions
What is the difference between the brass and silver screws on a light bulb socket?
The brass screw is for the hot (live) wire, which brings power to the bulb. The silver screw is for the neutral wire, which completes the circuit and returns power to the source.
Can I skip the ground wire if my socket has a green screw?
No, it is unsafe to skip the ground wire if the socket or fixture has a designated green terminal. The ground wire provides a critical safety path for electricity in case of a fault, preventing electric shock.
How much insulation should I strip from the wires?
You should strip just enough insulation (typically 1/2 to 5/8 inch) to allow the bare copper wire to wrap fully and securely around the terminal screw without any excess bare wire exposed once tightened.
What if my lamp cord doesn’t have obvious markings for hot and neutral?
While most modern lamp cords are polarized, if yours isn’t, use a multimeter to test for continuity. Alternatively, if one side of the wire is ribbed or marked and the other is smooth, the ribbed/marked side is usually neutral, and the smooth side is hot.
Why should I wrap the wire clockwise around the terminal screw?
Wrapping the wire clockwise ensures that as you tighten the screw, it pulls the wire loop tighter around the post, making for a more secure connection. Wrapping it counter-clockwise can cause the wire to push out from under the screw head.
📑 Table of Contents
Understanding the Basics: What’s Inside a Light Bulb Socket?
Before we get our hands dirty (or rather, our wires connected), it’s crucial to understand the components of a typical light bulb socket and the basic principles of electricity involved. This knowledge is your foundation for wiring a light bulb socket safely and correctly.
Anatomy of a Light Bulb Socket
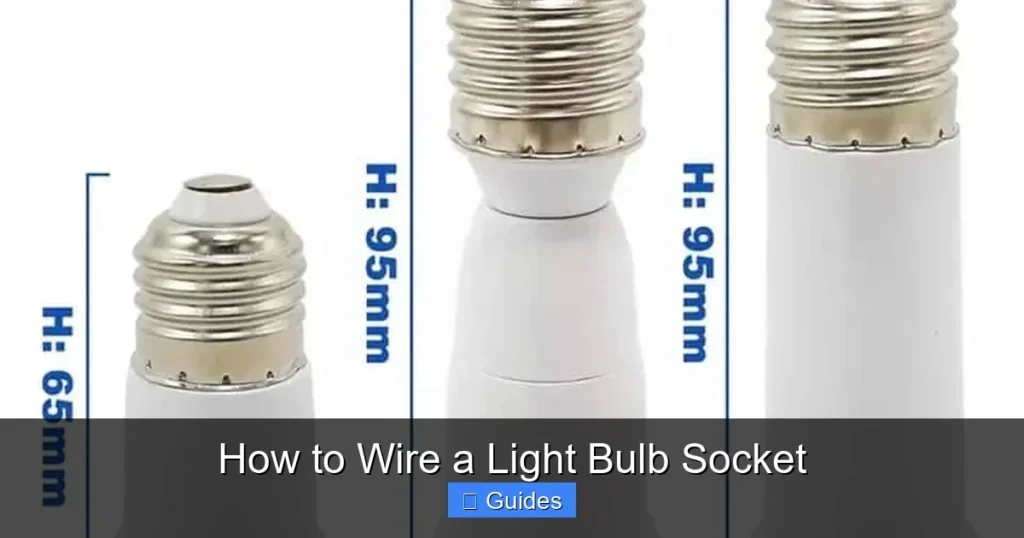
Most standard light bulb sockets, especially those used for Edison screw-base bulbs (E26 or E27), consist of several key parts:
- Outer Shell/Housing: This is the protective exterior, often made of plastic, metal, or porcelain, which houses the internal components.
- Insulating Sleeve: Inside the shell, a fiber or cardboard insulating sleeve prevents the electrical components from touching the outer shell, especially if it’s metal.
- Terminal Screws: These are the points where your electrical wires connect. You’ll typically find two: a brass-colored screw (for the hot wire) and a silver-colored screw (for the neutral wire). Some sockets might also have a green screw for a ground wire.
- Center Contact Tab (Hot): This small, spring-loaded tab at the very bottom of the socket makes contact with the tip of the light bulb’s base. It’s connected to the brass terminal screw.
- Screw Shell (Neutral): This threaded part is what the light bulb screws into. It’s connected to the silver terminal screw.
Understanding which part connects to which wire is absolutely critical for safe operation.
Basic Electricity for Wiring a Light Bulb Socket
Don’t worry, we’re not diving into advanced physics! Just a few key concepts:
- Circuit: Electricity needs a complete loop to flow. Power leaves the source, goes through the light bulb, and returns to the source.
- Hot Wire (Live): This wire carries the electrical current *to* the light bulb. It’s usually black in household wiring. It connects to the brass terminal screw and the center contact tab.
- Neutral Wire: This wire completes the circuit, carrying the current *away* from the light bulb and back to the source. It’s usually white. It connects to the silver terminal screw and the screw shell.
- Ground Wire (Safety): This wire provides a safe path for electricity to travel in case of a fault (like a short circuit), preventing shocks. It’s typically bare copper or green. It connects to the green terminal screw (if present) or directly to a metal housing.
- Polarization: In household plugs, one prong is wider than the other. This ensures the hot and neutral connections are always consistent. Wires in a lamp cord also have polarity – one side might be ribbed or marked, while the other is smooth.
Safety First: Essential Precautions You Cannot Skip
When you’re dealing with electricity, safety isn’t just a suggestion; it’s an absolute requirement. Ignoring safety precautions when learning how to wire a light bulb socket can lead to serious injury or even fire. Please read this section carefully and adhere to every point.
Always Disconnect Power
This is the golden rule! Before you touch any wires, *always* ensure the power is off. If you’re working on a lamp, unplug it from the wall. If you’re working on a ceiling fixture or a wall sconce, turn off the corresponding circuit breaker in your home’s electrical panel. Don’t just rely on the light switch; switches can fail, or you might be working on the “hot” side of the switch.
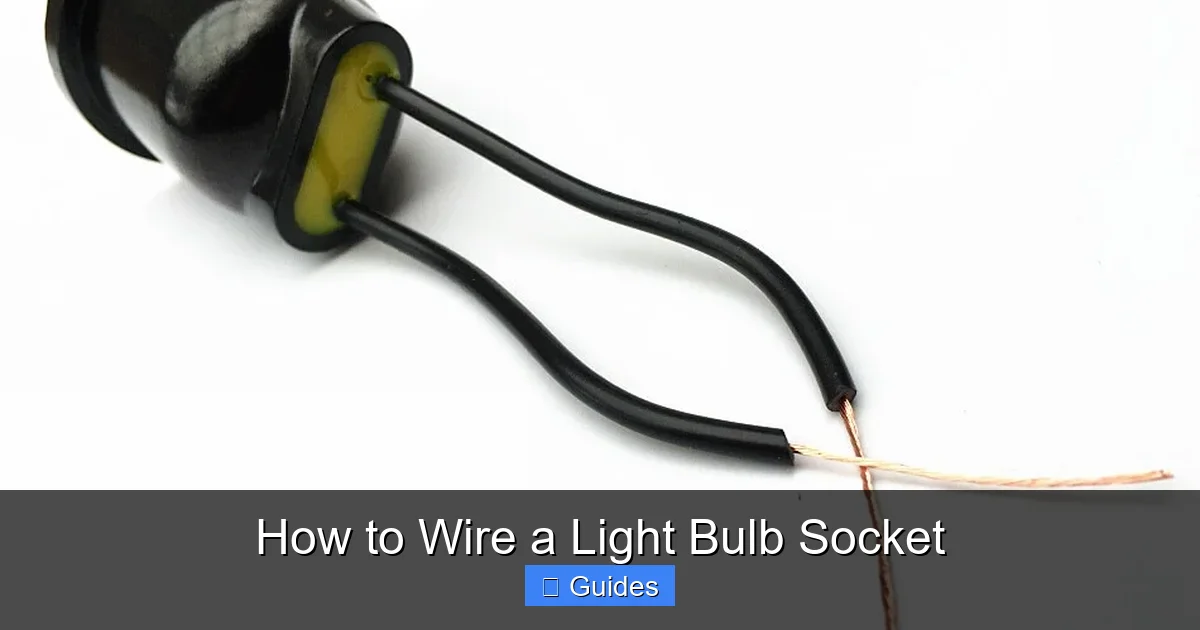
Visual guide about How to Wire a Light Bulb Socket
Image source: images.nexusapp.co
Use the Right Tools
Having the correct tools makes the job easier and safer. Here’s what you’ll typically need:
- Screwdrivers: Phillips and flathead, appropriate sizes for the terminal screws.
- Wire Strippers: Essential for cleanly removing insulation without damaging the copper wires.
- Needle-Nose Pliers: Helpful for bending wires into loops for terminal screws.
- Insulated Pliers: Pliers with rubberized handles offer an extra layer of protection against accidental contact with live wires.
- Multimeter/Voltage Tester: A crucial tool to verify that the power is indeed off before you begin work.
- Utility Knife (optional): For carefully splitting lamp cords.
Inspect Wires and Components
Before connecting anything, check all wires for fraying, cracks, or exposed copper. Ensure the socket itself isn’t damaged. If you find any issues, replace the faulty components rather than trying to repair them.
Gather Your Materials and Prepare Your Workspace
With safety covered, let’s get everything ready. A tidy and well-prepared workspace contributes to a smooth and safe wiring process.
Materials Needed
- New light bulb socket (or the one you’re working with)
- Electrical wire (lamp cord or appropriate gauge for your project)
- Light bulb (for testing)
- Electrical tape (optional, for extra insulation)
Preparing the Cord
If you’re using a lamp cord, you’ll need to prepare the ends. Lamp cords are often two-conductor wires fused together. One side is typically marked with a ribbing or a stripe, while the other is smooth. The ribbed or marked side is usually the neutral wire, and the smooth side is the hot wire. Confirm this with your lamp cord’s specifications if possible.
- Split the Cord: Carefully use a utility knife or wire strippers to split the two conductors apart for about 1 to 1.5 inches at the end that will go into the socket. Be gentle to avoid cutting into the wire insulation itself.
- Strip the Insulation: Using your wire strippers, carefully remove about 1/2 to 5/8 inch of insulation from the end of each wire. You want enough bare copper to wrap securely around the terminal screw, but not so much that there’s excessive exposed wire after tightening.
Step-by-Step Guide: How to Wire a Light Bulb Socket
Now for the main event! Follow these steps carefully to wire your light bulb socket correctly.
Step 1: Disassemble the Socket
Most standard sockets come in a few pieces. Twist the outer shell to unscrew it from the base. You’ll usually find a cardboard or fiber insulating sleeve inside. Remove this sleeve. You should now see the terminal screws attached to the internal mechanism.
- Tip: Pay attention to how the pieces come apart, so you can reassemble them correctly later.
Step 2: Identify Terminal Screws and Wire Polarity
This is arguably the most critical step when you want to know how to wire a light bulb socket:
- Brass Screw: This is for the hot wire. Connect your smooth (hot) lamp cord wire here.
- Silver Screw: This is for the neutral wire. Connect your ribbed or marked (neutral) lamp cord wire here.
- Green Screw (if present): This is for the ground wire. If your cord has a separate ground wire (typically for metal fixtures or 3-prong plugs), connect it here. Many simple lamp cords don’t have a dedicated ground, as the fixture itself might be double-insulated.
Step 3: Connect the Wires
Now, let’s make those connections:
- Form a Loop: Using your needle-nose pliers, bend the stripped end of each wire into a small U-shape or hook.
- Connect Hot Wire: Take the hot wire (smooth cord, stripped end) and loop it clockwise around the brass terminal screw. The wire should be snug under the screw head.
- Tighten Hot Wire: Using your screwdriver, tighten the brass screw firmly. Tug gently on the wire to ensure it’s secure and won’t pull out. Make sure no stray copper strands are touching other terminals or components.
- Connect Neutral Wire: Take the neutral wire (ribbed/marked cord, stripped end) and loop it clockwise around the silver terminal screw.
- Tighten Neutral Wire: Tighten the silver screw firmly, just as you did with the hot wire. Again, check for stray strands.
- Connect Ground Wire (if applicable): If you have a ground wire, loop it clockwise around the green terminal screw and tighten it securely.
Important Tip: Always wrap the wire clockwise around the screw. This way, as you tighten the screw, it pulls the wire loop tighter, rather than pushing it out from under the screw head.
Step 4: Reassemble the Socket
Once all wires are securely connected and you’ve double-checked for stray strands:
- Insert Insulating Sleeve: Carefully slide the fiber insulating sleeve back over the wired mechanism. Ensure it covers all connections and prevents them from touching the outer shell.
- Secure the Shell: Guide the wired mechanism back into the outer shell of the socket. Make sure the wires are not pinched.
- Screw Together: Twist the outer shell and the base back together until they are securely fastened.
Testing Your Work and Final Tips
You’re almost done! But before you plug it in or flip the breaker, let’s make sure everything is safe and functional.
Testing the Circuit
There are two primary ways to test after you wire a light bulb socket:
- Multimeter (Recommended for safety): With the lamp unplugged (or breaker off), set your multimeter to continuity mode. Touch one probe to the tip of where the bulb would go (center contact) and the other probe to one of the plug prongs. You should get a reading (continuity) for one prong. Then, touch one probe to the screw shell and the other to the *other* plug prong. You should get a reading. Importantly, there should be NO continuity between the center contact and the screw shell, or between the center contact and the *wrong* plug prong, or between the screw shell and the *wrong* plug prong. This confirms correct wiring and no short circuits.
- Careful Power-Up: If you don’t have a multimeter, screw in a known good light bulb. Plug the lamp into an outlet that has a working light switch or is easily accessible to unplug. If it’s a fixture, flip the breaker back on. Carefully turn on the light. If it lights up, great! If it doesn’t, immediately unplug the lamp or turn off the breaker and troubleshoot.
Troubleshooting Common Issues
- Light Doesn’t Turn On: Check your bulb first! Then, ensure all wire connections are tight. Verify that the hot wire goes to the brass screw and the neutral to the silver. Check for any breaks in the cord or socket.
- Flickering Light: Often indicates a loose connection. Re-tighten screws.
- Sparking/Burning Smell: Immediately unplug or turn off power! This is a serious issue, likely a short circuit or loose connection causing arcing. Disassemble and re-inspect all connections carefully.
Final Tips for a Professional Finish
- Strain Relief: Many sockets have a built-in strain relief mechanism (a knot or clamp where the cord enters the base). Use it to prevent the cord from being pulled directly on the internal connections.
- Cable Management: Ensure the cord runs cleanly and isn’t caught or pinched within the fixture.
- Keep it Clean: A clean work area helps prevent small wire strands from causing trouble.
Conclusion: Empowering Your Inner Electrician
And there you have it! You’ve successfully learned how to wire a light bulb socket, transforming a seemingly complex task into a manageable DIY project. From understanding the basics of electricity and socket components to taking crucial safety precautions and making secure connections, you now possess a valuable skill that opens up a world of repair and creative possibilities.
Remember, practice makes perfect, and always prioritize safety above all else. With each successful wiring project, your confidence will grow, enabling you to tackle more ambitious lighting endeavors. So go ahead, illuminate your space with your newfound expertise, and enjoy the satisfaction of a job well done. Happy wiring!
Frequently Asked Questions
What tools are essential for wiring a light bulb socket?
Essential tools include Phillips and flathead screwdrivers, wire strippers, needle-nose pliers for bending wires, and a voltage tester or multimeter to confirm power is off. Insulated pliers are also highly recommended for an extra layer of safety.
How do I know which wire is hot and which is neutral on a lamp cord?
Most lamp cords are polarized; one side will have a ribbed texture or a marking (like a stripe), which indicates the neutral wire. The smooth side is typically the hot wire. Always connect the hot wire to the brass screw and the neutral to the silver screw.
Is it safe to wire a light bulb socket myself if I have no electrical experience?
Yes, wiring a simple light bulb socket is a beginner-friendly electrical task, provided you follow all safety guidelines meticulously. Always ensure power is disconnected, use the correct tools, and double-check your connections before restoring power.
What should I do if the light doesn’t work after I’ve wired the socket?
First, double-check that the bulb is working and screwed in properly. Then, re-inspect your wiring connections for tightness and correct polarity (hot to brass, neutral to silver). Ensure no stray wire strands are causing a short circuit, and confirm power to the circuit is on.
Can I use any type of wire for a light bulb socket?
No, you should use electrical wire that is appropriate for the fixture’s power requirements and location. For most lamps, a standard 18-gauge or 16-gauge lamp cord (SPT-1 or SPT-2) is sufficient. Always ensure the wire’s insulation rating meets or exceeds the voltage requirements.
Why is grounding important when wiring a light bulb socket?
Grounding provides a safe path for electricity to flow to the earth in the event of an electrical fault, such as a short circuit within the fixture. This prevents the metal housing of the fixture from becoming energized, which could cause a severe electric shock if touched.