Replacing a tail light bulb is a straightforward DIY task that significantly enhances your vehicle’s safety and keeps you compliant with traffic laws. This comprehensive guide empowers you to tackle the job yourself, saving time and money on professional service. You’ll learn the necessary tools, a step-by-step process, and essential troubleshooting tips to ensure a successful replacement, keeping your car visible and safe for every journey.
How to Replace Tail Light Bulb
Picture this: You’re driving home after a long day, and suddenly, another driver flags you down, pointing to the back of your car. Your heart sinks a little as you realize it – your tail light is out. It’s a common occurrence, but also a crucial one for your safety and for staying on the right side of the law. A burnt-out tail light doesn’t just look bad; it significantly reduces your visibility to other drivers, especially at night or in bad weather, increasing the risk of an accident.
Many people immediately think of a costly trip to the mechanic when a tail light goes out. But what if we told you that replacing a tail light bulb is one of the easiest and most satisfying DIY car repairs you can do? It requires minimal tools, a little patience, and this straightforward guide. You don’t need to be a car expert to tackle this job. In fact, learning how to replace a tail light bulb yourself can save you time, money, and give you a real sense of accomplishment.
This comprehensive guide will walk you through every step of how to replace a tail light bulb, from identifying the right replacement to troubleshooting common issues. We’ll cover everything you need to know to confidently get your vehicle back in top, visible shape. So, roll up your sleeves, grab a few basic tools, and let’s light up the road safely again!
Key Takeaways
- Safety First: Always ensure your vehicle is off and cool, and consider disconnecting the battery before starting any work.
- Identify the Right Bulb: Consult your car’s owner’s manual or check online resources to find the exact replacement tail light bulb number and type for your specific make and model.
- Handle with Care: New bulbs, especially halogen ones, should be handled by their base or with gloves to prevent oils from your skin from shortening their lifespan.
- Test Before Reassembly: After installing the new tail light bulb, always test it by turning on your lights before fully reassembling the tail light assembly.
- Tools are Simple: Most tail light bulb replacements require only basic hand tools, such as screwdrivers or a socket wrench, making it an accessible DIY task.
- DIY Saves Money: Replacing the tail light bulb yourself can save you significantly on labor costs compared to having a mechanic do it.
- Legality and Safety: A functional tail light is crucial for your safety on the road, improving your visibility to other drivers, and is a legal requirement in most places.
Quick Answers to Common Questions
How long does it take to replace a tail light bulb?
Most tail light bulb replacements can be completed in 15 to 30 minutes, especially if you have the right tools and bulb readily available. First-timers might take a bit longer, but it’s still a quick job.
Can I drive with a broken tail light?
While you technically can, it is highly unsafe and illegal in most places. Driving with a broken tail light significantly reduces your visibility to other drivers, especially at night, and can lead to a traffic citation or even an accident.
What if my new tail light bulb doesn’t work?
If your new bulb doesn’t work, first double-check that it’s correctly seated in the socket and that the socket is properly twisted into the assembly. If it still fails, inspect your car’s fuse box for a blown tail light fuse, or consider that the bulb itself might be faulty (though rare for a new bulb).
Do I need special tools to replace a tail light bulb?
No, most tail light bulb replacements only require basic hand tools like a Phillips-head or flat-head screwdriver. Some vehicles might need a small socket wrench for bolts, and clean gloves are highly recommended for handling the new bulb.
How often should I check my tail lights?
It’s a good practice to check your tail lights (and all exterior lights) at least once a week or every time you refuel. A quick visual walk-around of your vehicle will help you spot any burnt-out bulbs quickly.
📑 Table of Contents
Why Your Tail Light Matters and When to Replace It
Your vehicle’s tail lights are more than just decorative. They are a critical safety feature, signaling your presence to other drivers. Understanding their importance and knowing when a replacement is due is the first step in maintaining your car.
The Safety Imperative
A functioning tail light system is absolutely fundamental for road safety. When you hit the brakes, the brighter brake lights flash, warning the car behind you to slow down. At night or during low-visibility conditions like rain or fog, your regular tail lights ensure your vehicle is seen from the rear. Without them, you become a ghost on the road, an invisible hazard waiting for an accident. Proper visibility can literally be the difference between a safe journey and a dangerous collision. Knowing how to replace a tail light bulb ensures you maintain this critical safety component.
Legal Ramifications
Beyond safety, operating a vehicle with a broken or burnt-out tail light bulb is illegal in most jurisdictions. Law enforcement officers often pull drivers over for this reason. A simple warning can quickly turn into a costly ticket, adding unnecessary stress and expense to your day. Regularly checking your tail lights and knowing how to replace a tail light bulb yourself can help you avoid these penalties and keep you compliant with traffic laws. It’s a small task with significant legal implications.
Spotting a Faulty Bulb
So, how do you know if your tail light bulb is actually burnt out? The most obvious sign is that it’s simply not lighting up when your headlights are on. However, there are a few ways to check:
- Visual Inspection: The simplest way is to have someone stand behind your car while you turn on your headlights and then press the brake pedal. They can tell you which lights are working and which are not. You might even see a black filament inside the bulb if it’s completely burnt out.
- Dashboard Warning Light: Some modern vehicles have a “bulb out” warning light on the dashboard. If this light illuminates, it’s a clear signal to investigate your exterior lights.
- Dim or Flickering Light: Sometimes, a bulb doesn’t completely die but becomes dim or flickers intermittently. This can be a sign that the filament is weakening and a replacement is imminent.
If you notice any of these signs, it’s time to learn how to replace a tail light bulb. Don’t put it off!
Gathering Your Tools and Supplies
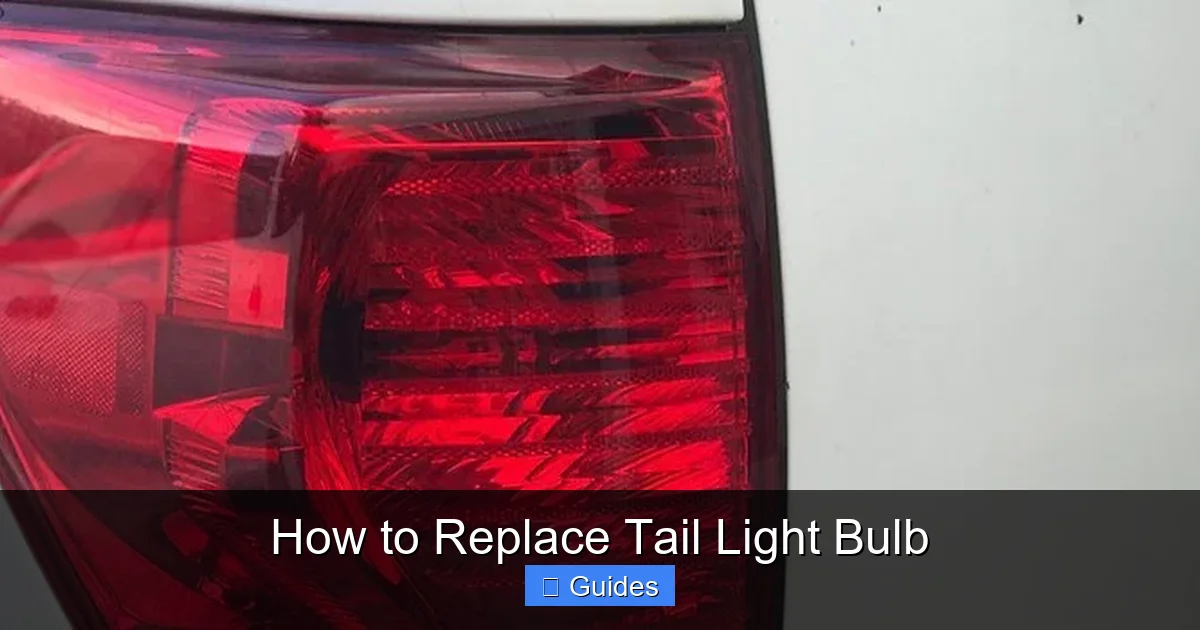
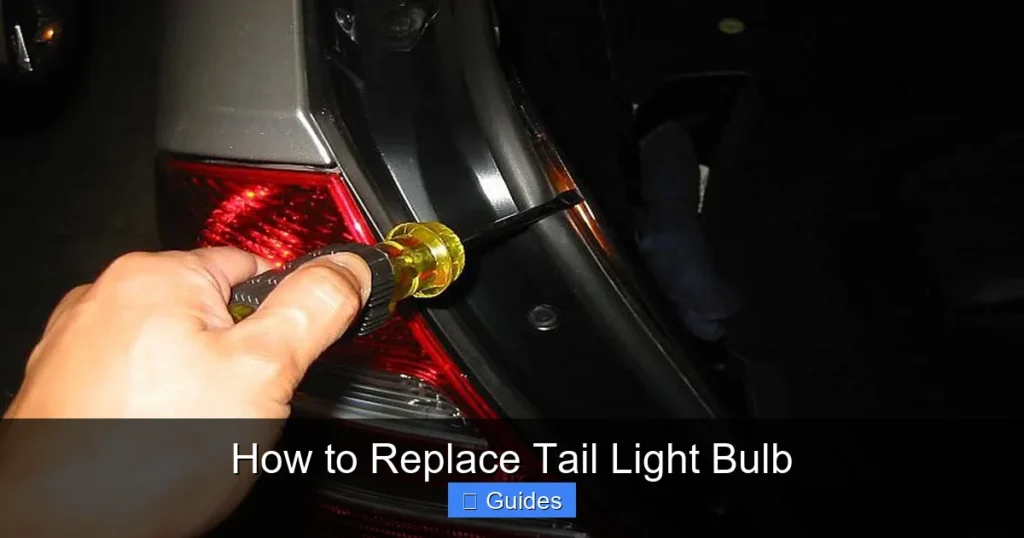
Visual guide about How to Replace Tail Light Bulb
Image source: assets.howtune.com
Before you dive into replacing your tail light bulb, it’s always a good idea to have everything you need laid out. This preparation makes the process smoother, faster, and much less frustrating.
The Right Replacement Bulb
This is the most crucial item! You cannot simply use any bulb you find; vehicles require specific bulb types. Using the wrong bulb can lead to electrical issues or simply won’t fit.
- Consult Your Owner’s Manual: Your car’s owner’s manual is the definitive source for this information. It will list the exact bulb numbers for all your vehicle’s lights, including your tail light bulb.
- Check the Old Bulb: If you’ve already removed the old, faulty bulb, the bulb number is usually printed on its base. Take a picture or write it down.
- Online Resources/Auto Parts Store: Many auto parts store websites allow you to input your car’s year, make, and model to find compatible parts. You can also ask the staff at the store for assistance.
- Consider Bulb Type: Most cars use incandescent bulbs, but some newer vehicles might use LEDs. If your car uses incandescent, you’ll likely replace it with another incandescent. Be careful if considering an LED upgrade, as it might require load resistors to prevent hyper-flashing or “bulb out” warnings.
Always buy a good quality replacement tail light bulb from a reputable brand to ensure longevity and proper function.
Essential Hand Tools
Fortunately, replacing a tail light bulb doesn’t usually require a specialized toolbox. Most of what you need will likely be found in a basic household or car toolkit.
- Screwdrivers: You’ll probably need a Phillips-head and/or a flat-head screwdriver. The size will depend on the screws holding your tail light assembly in place.
- Socket Wrench Set (Optional): Some vehicles use nuts or bolts instead of screws to secure the tail light assembly. A small socket wrench set might be useful here.
- Pry Tool (Optional): If your tail light assembly is held by clips, a plastic pry tool (like those used for interior car trim) can help you gently release them without scratching your paint.
- Gloves: Latex, nitrile, or even clean cotton gloves are highly recommended. Oils from your skin can create hot spots on a new halogen tail light bulb, significantly reducing its lifespan.
- Clean Cloth: Useful for wiping away dirt or cleaning the socket.
Having these simple tools ready will make the “how to replace a tail light bulb” process much more efficient.
Safety First
Even for a simple task like replacing a tail light bulb, safety should be your top priority.
- Park on a Level Surface: Ensure your car is on a flat, stable surface, not on a slope.
- Engage Parking Brake: Always set your parking brake to prevent the car from rolling.
- Turn Off the Engine: Make sure the ignition is off and the engine is cool.
- Headlights Off: Ensure all lights are off before you start.
- Disconnect Battery (Optional but Recommended): For extra safety, especially if you’re dealing with potentially exposed wires or complex assemblies, disconnect the negative terminal of your car’s battery. This prevents accidental shorts.
With your tools ready and safety precautions in place, you’re now prepared to learn the practical steps of how to replace a tail light bulb.
The Step-by-Step Guide to Replacing Your Tail Light Bulb
Now for the main event! This section will guide you through the actual process of replacing your tail light bulb, step by step. Remember that while the general process is similar across vehicles, specific details might vary slightly, so refer to your car’s manual if anything is unclear.
Step 1: Safety First
We can’t stress this enough. Before touching anything, ensure your vehicle is parked on a flat surface, the engine is off, the parking brake is engaged, and all lights are switched off. If you’re going to disconnect the battery, do that now by loosening the nut on the negative (-) terminal with a wrench and carefully removing the cable.
Step 2: Accessing the Tail Light Assembly
The first hurdle is getting to the bulb itself. The tail light bulb is housed within the tail light assembly, which is usually secured to the car’s body.
- Open the Trunk or Hatch: For most cars, you’ll need to open the trunk or rear hatch to access the back of the tail light assembly.
- Locate Fasteners: Look for screws, bolts, or plastic clips holding the tail light assembly in place. These are typically visible from inside the trunk or cargo area, near the back of the light unit. Some vehicles might have access panels that need to be removed first.
- Remove Fasteners: Use your screwdriver or socket wrench to carefully remove these fasteners. Keep track of them so you don’t lose any during reassembly.
- Gently Remove the Assembly: Once the fasteners are removed, the tail light assembly might be held by additional alignment pins or clips. Gently pull the assembly straight back, away from the car. Wiggle it slightly if it feels stuck. Be careful not to pull too hard, as the wiring harness will still be attached.
- Disconnect Wiring Harness (if necessary): Some vehicles require you to completely remove the assembly from the car. In this case, you’ll need to disconnect the wiring harness. There’s usually a tab or button you press to release the connector.
Step 3: Removing the Old Bulb
Now that you have access to the tail light assembly, you can get to the faulty bulb.
- Locate the Bulb Socket: Inside the tail light assembly, you’ll see several bulb sockets. The tail light bulb is typically one of them. Often, brake and tail lights share the same bulb (a dual-filament bulb), while turn signals and reverse lights have their own.
- Twist and Remove the Socket: The bulb socket is usually held in place by a twist-lock mechanism. Gently twist the socket counter-clockwise (about a quarter turn) until it loosens, then pull it straight out from the assembly.
- Remove the Old Bulb from the Socket:
- Wedge-base bulbs: These simply pull straight out from the socket. Give it a firm but gentle pull.
- Bayonet-base bulbs: These bulbs need to be pushed in slightly, twisted counter-clockwise, and then pulled out. Think of it like a child-proof cap on a medicine bottle.
Inspect the old bulb to confirm it’s burnt out (often a broken or blackened filament).
Step 4: Installing the New Bulb
This is where your clean gloves come in handy!
- Handle with Gloves: Put on your clean gloves. Avoid touching the glass part of the new tail light bulb with your bare hands, especially if it’s a halogen bulb. The oils from your skin can create hot spots, causing the bulb to burn out prematurely.
- Insert the New Bulb:
- Wedge-base bulbs: Push the new bulb straight into the socket until it’s firmly seated.
- Bayonet-base bulbs: Push the new bulb into the socket, twist it clockwise, and ensure it locks into place.
Make sure the bulb is fully seated and feels secure.
- Inspect the Socket (Optional but Recommended): Before reinserting the socket, quickly check the socket for any signs of corrosion or damage. If you see any green or white buildup, you can gently scrape it off with a small screwdriver or use electrical contact cleaner, but be careful not to bend the contacts.
- Reinsert the Socket: Push the bulb socket with the new bulb back into the tail light assembly, aligning the tabs, and twist it clockwise to lock it securely in place.
Step 5: Testing and Reassembling
You’re almost done! Don’t put everything back together before testing.
- Reconnect Battery (if disconnected): If you disconnected your car’s battery in Step 1, reconnect the negative terminal now.
- Test the New Bulb: Turn on your car’s ignition (you might not need to start the engine) and switch on your headlights. Then, have someone check the tail light you just worked on. Press the brake pedal to ensure the brake light filament also works if it’s a dual-filament bulb. Test your turn signal and reverse lights too, just in case.
- Reassemble the Tail Light Assembly: If the new tail light bulb works perfectly, you can now reassemble everything.
- Reconnect Wiring Harness (if disconnected): If you removed the entire assembly, reattach the wiring harness securely.
- Align and Reinstall Assembly: Carefully slide the tail light assembly back into its original position, ensuring any alignment pins or tabs fit correctly.
- Reinstall Fasteners: Secure the assembly with the screws, bolts, or clips you removed earlier. Don’t overtighten, as this can crack the plastic.
- Final Check: Close your trunk or hatch. Take another look to make sure the tail light assembly is flush with the car’s body and all fasteners are secure.
Congratulations! You’ve successfully learned how to replace a tail light bulb and completed the task.
Common Challenges and Troubleshooting Tips
Even with a clear guide, sometimes things don’t go exactly as planned. Here are some common issues you might encounter when you replace a tail light bulb and how to troubleshoot them.
Stubborn Screws or Clips
Car parts can get tight or corroded over time.
- Problem: Screws that won’t budge, or clips that feel impossible to release.
- Solution:
- For stubborn screws, apply a penetrating oil (like WD-40) and let it sit for a few minutes before trying again. Make sure you’re using the correct screwdriver head size to prevent stripping the screw.
- For plastic clips, a plastic pry tool can be very helpful to gently lever them open without damaging the surrounding paint or plastic. Never force plastic components; they can break easily.
Incorrect Bulb Type
Using the wrong bulb can lead to a host of problems.
- Problem: The new bulb doesn’t fit, or it fits but doesn’t light up, or it causes other electrical issues.
- Solution: Always double-check the bulb number. Refer to your owner’s manual or compare the new bulb directly to the old one. There are many similar-looking bulbs with different bases or wattage. An incorrect bulb can cause fuses to blow or damage the electrical system. Ensure the wattage is correct, as higher wattage bulbs can melt the housing.
Still Not Working After Replacement
This can be frustrating, but there are usually a few simple explanations.
- Problem: You’ve installed a new tail light bulb, but it still doesn’t light up.
- Solution:
- Check the Bulb Again: Did you accidentally get a faulty new bulb? It happens. Try another new bulb if you have one, or test the new bulb in a working socket if possible.
- Check the Fuse: A blown fuse can prevent the light from working. Consult your owner’s manual to locate your vehicle’s fuse box and identify the fuse for your tail lights. Fuses are usually small, colored plastic pieces; if the metal filament inside is broken, the fuse is blown and needs to be replaced with one of the exact same amperage.
- Check the Wiring: Ensure the wiring harness is securely connected to the tail light assembly and that there are no visible cuts or damage to the wires.
- Check the Socket: Sometimes the socket itself can be faulty. Look for corrosion, bent contacts, or signs of melting. If the socket is damaged, it might need to be replaced by a professional.
Corroded Sockets
Corrosion can interfere with electrical contact.
- Problem: Greenish or whitish buildup inside the bulb socket.
- Solution: If you spot corrosion, carefully clean it off. You can use a small, non-metallic brush (like an old toothbrush), a cotton swab dipped in electrical contact cleaner, or very fine sandpaper/emery board. Be gentle to avoid bending the metal contacts. Ensure the socket is completely dry before reinserting the bulb.
Troubleshooting is part of the DIY experience. With these tips, you should be able to resolve most issues you face when you replace a tail light bulb.
Beyond the Basics: Maintenance and Prevention
Knowing how to replace a tail light bulb is great, but regular maintenance can help you avoid the problem in the first place. A little proactive care goes a long way in keeping your tail lights shining bright and avoiding future replacements.
Regular Checks
Make checking your lights a routine part of your car maintenance.
- Weekly Walk-Around: Do a quick walk-around of your car at least once a week. Turn on your headlights, press the brake pedal, and engage your turn signals and hazard lights. This quick visual inspection helps you catch any burnt-out bulbs early.
- Dashboard Warnings: Pay attention to any warning lights on your dashboard. Modern cars often alert you to bulb failures.
- During Other Maintenance: Ask your mechanic to do a quick light check during oil changes or other service appointments.
Proper Handling of Bulbs
How you handle a new bulb can significantly impact its lifespan.
- Use Gloves: We’ve mentioned it before, but it bears repeating. Always use clean gloves when handling new halogen bulbs. Even a tiny bit of oil from your skin can create a hot spot, causing the bulb to fail prematurely.
- Store Spares Safely: If you buy spare bulbs, keep them in their original packaging in a cool, dry place to protect them until needed.
Understanding Bulb Types
Being familiar with different bulb types can make future replacements easier.
- Incandescent Bulbs: These are traditional bulbs with a filament that glows when heated. They are common, inexpensive, and easy to replace.
- LED Bulbs: Light Emitting Diodes are more energy-efficient, last much longer, and often provide a brighter, faster light. However, replacing an incandescent with an LED might require additional wiring (like load resistors) to avoid “hyper-flashing” or error codes in your vehicle’s computer system. Consult an expert before converting.
- Xenon/HID Bulbs: These are typically found in headlights and are less common for tail lights. They operate at high voltage and should only be handled by professionals.
By understanding these aspects, you’re not just learning how to replace a tail light bulb; you’re becoming a more informed and proactive car owner, ensuring your vehicle remains safe and reliable on the road.
Conclusion
And there you have it! You’ve navigated the ins and outs of how to replace a tail light bulb, from understanding its importance to confidently tackling the job yourself. It’s a simple repair, but one that has a huge impact on your safety and your peace of mind. No more worrying about tickets or, more importantly, about other drivers not seeing you.
Replacing your tail light bulb is a fantastic entry point into DIY car maintenance. It requires minimal investment in tools, offers immediate gratification, and saves you money you would otherwise spend at a repair shop. More than that, it builds your confidence as a car owner, empowering you to handle minor issues without external help.
So, the next time you notice a dim or dead tail light, remember this guide. With a few simple steps, you can keep your vehicle visible, safe, and legally compliant on every journey. Drive safely and shine brightly!
Frequently Asked Questions
What’s the difference between a tail light and a brake light?
A tail light is illuminated whenever your headlights are on, providing constant visibility from the rear. A brake light, which is usually brighter, only illuminates when you press the brake pedal to signal that you are slowing down or stopping. Often, they are part of the same dual-filament bulb.
Is it important to wear gloves when handling a new bulb?
Yes, it is very important, especially for halogen bulbs. The oils from your skin can create hot spots on the bulb’s glass surface when it heats up, which can drastically reduce the bulb’s lifespan and cause it to burn out prematurely.
How can I tell which tail light bulb is burnt out?
The easiest way is to turn on your headlights (and press the brake pedal for brake lights) and walk around your vehicle, looking at the rear. You can also ask a friend to stand behind the car while you operate the lights. Some modern cars have a “bulb out” warning light on the dashboard.
What should I do if the tail light assembly is stuck?
If the tail light assembly feels stuck after removing all visible fasteners, it might be held by alignment pins or hidden clips. Gently but firmly wiggle the assembly, pulling it straight back from the car body. Avoid excessive force, which could damage the plastic or paint. A plastic pry tool can sometimes help release stubborn clips.
Can I use an LED bulb to replace a standard incandescent tail light bulb?
Yes, you can often replace incandescent tail light bulbs with LEDs, but it’s not always a direct swap. LEDs draw less power, which can cause “hyper-flashing” (fast blinking turn signals) or trigger “bulb out” warning lights on your dashboard. You might need to install load resistors or specific CAN-bus compatible LED bulbs to prevent these issues.
Are all tail light bulbs the same?
No, tail light bulbs vary significantly in size, shape, base type, and wattage depending on your vehicle’s make and model. Always consult your car’s owner’s manual or check the part number on the old bulb to ensure you purchase the correct replacement for your specific vehicle.